thebullishbitcoiner on Nostr: I used to dislike that long form notes were published to the feed every time an ...
I used to dislike that long form notes were published to the feed every time an update was made, especially in cases where there’s a small correction (e.g. a typo).
But I’ve since changed my mind and think that it’s great for updating. Case in point, the article below was originally posted on SN (npub1jfu…m0gx) and then cross posted here.
I then updated the article to include a header image, summary, and a tip from Phoenix support that I didn’t have when I initially wrote the post.
quoting note1fnm…5zmfI’d like to start off by saying that phoenixd has been a great experience so far. The install (on a Linux machine) was as easy as depicted on their [website](https://phoenix.acinq.co/server/get-started).

And the channel I opened via [auto liquidity](https://phoenix.acinq.co/server/auto-liquidity) was super simple. I didn’t have to pick an LSP and I won’t need to manage liquidity.
Unfortunately, the machine I installed the software on started to freeze seconds after every boot. After posting about it [here](https://stacker.news/items/825060/r/thebullishbitcoiner) and getting an answer from DarthCoin (npub1lxk…5xlc), I was surprised at how easy the migration seemed.
It really was just a matter of restoring the seed words on another phoenixd instance. Of course, making sure that the two instances don’t run at the same time.
As easy as it was, I wanted to create this post to give a quick overview for those who might be less tech savvy.
### Step 1
Grab seed words from the `seed.dat` file in hidden`.phoenix` folder on the old machine.

### Step 2
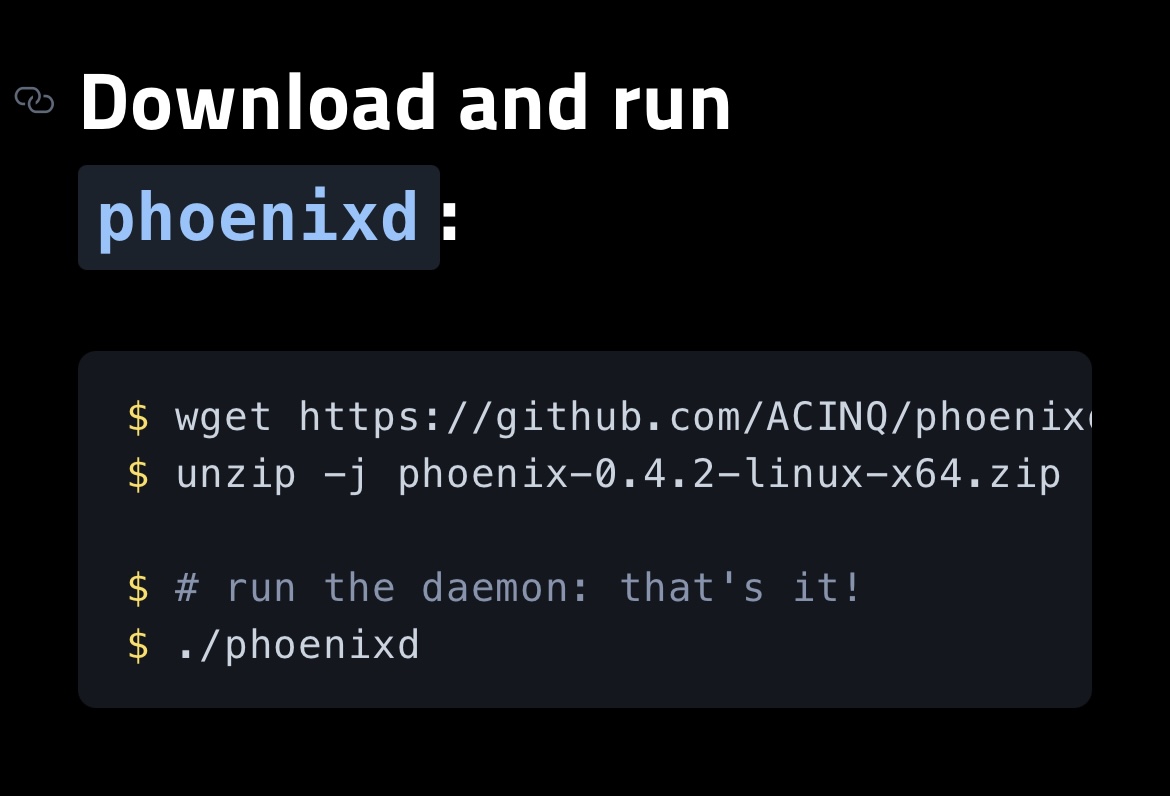
Install phoenixd on the new machine
```
$ wget https://github.com/ACINQ/phoenixd/releases/download/v0.4.2/phoenix-0.4.2-linux-x64.zip
$ unzip -j phoenix-0.4.2-linux-x64.zip
$ # run the daemon: that's it!
$ ./phoenixd
```
### Step 3
(This is the step that wasn’t super clear and why I wanted to spell it out in this post)
In order to install the software, `./phoenixd` has to be run. This is going to generate a new seed phrase.

Now, all you need to do is replace the seed words in `seed.dat` with the ones from the original install.
In retrospect, I think you can replace the seed words right after unzipping the zip file and before running `./phoenixd`. That will probably achieve the same result.
### Step 4
Once the seed words have been restored. Just run `./phoenixd` again and it’ll start up like nothing happened.
Literally.
There was no indication whatsoever that something had changed, so I ran `./phoenix-cli getinfo` and, voila, there was my 2M-sat channel.
It was quite magical.
originally posted at https://stacker.news/items/829411
### Update (1/1/2025)
Phoenix Support got back to me and confirmed that the migration can be even simpler. You can actually just copy the ~/.phoenix directory onto the new machine and run `./phoenix`!
![]()
